STEP 1Pop the screw covers
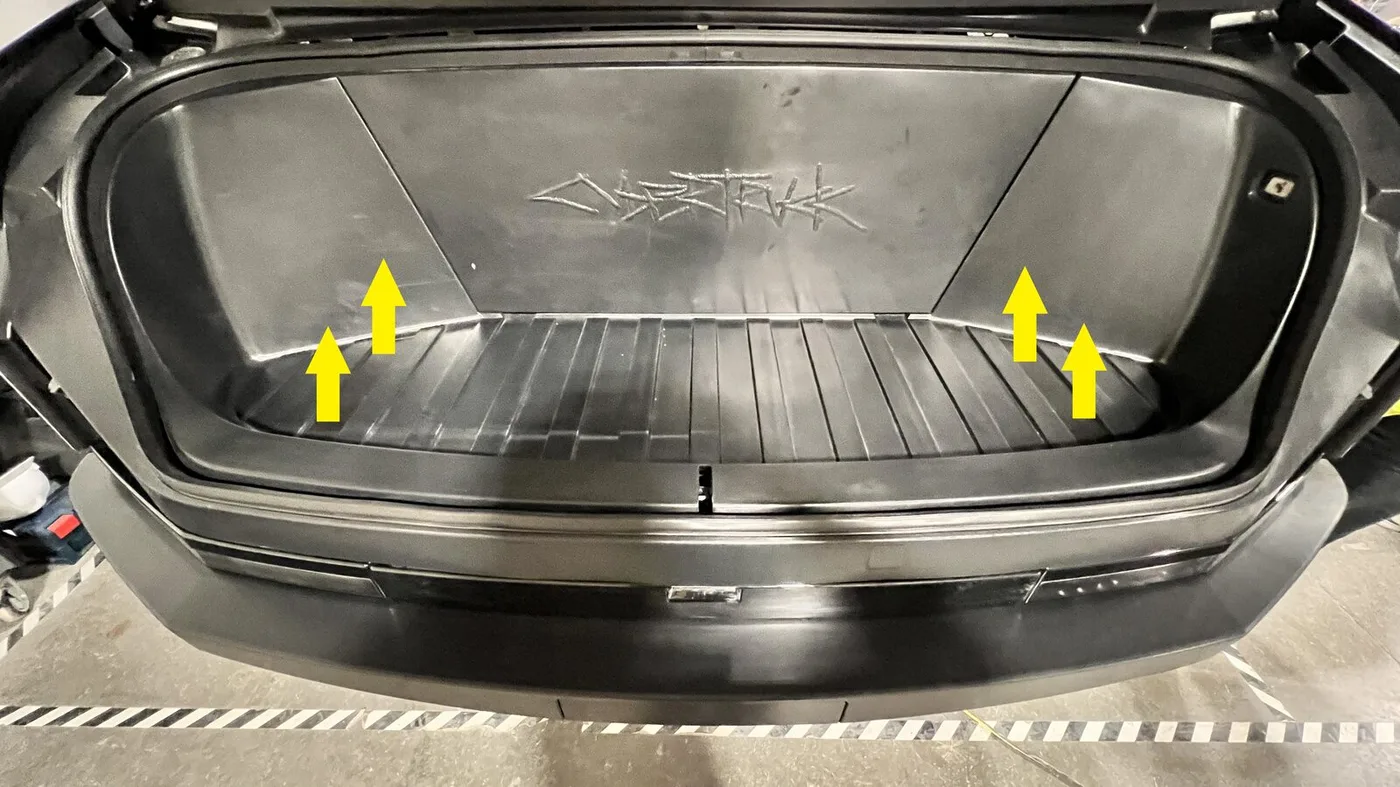
Remove the four screw covers to expose the factory bolts in the frunk. A small flathead screwdriver pries them off with ease — the arrows show where they live.
The V2 Frunk Track System installs on the Cybertruck’s existing factory bolt points — no drilling, no adhesive, fully reversible. Here’s the complete install, start to loaded.
Remove the four screw covers to expose the factory bolts in the frunk. A small flathead screwdriver pries them off with ease — the arrows show where they live.
Unscrew and remove the four factory bolts and their washers. You’ll need a 10mm socket. Keep the factory hardware somewhere safe — you’ll want it if you ever return the frunk to stock.
Place the four spacer blocks from your kit with the Cybertruck logo facing up, aligning each block’s hole with a factory bolt location.
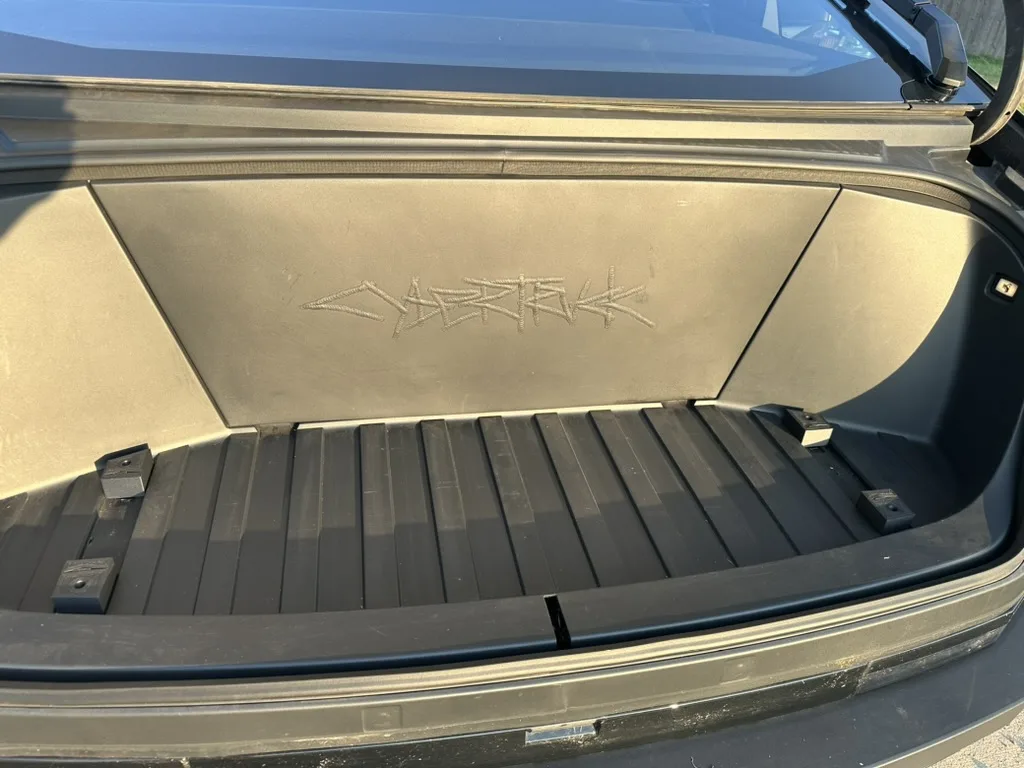
Set the base plate into the frunk and align its holes with the factory bolt locations.
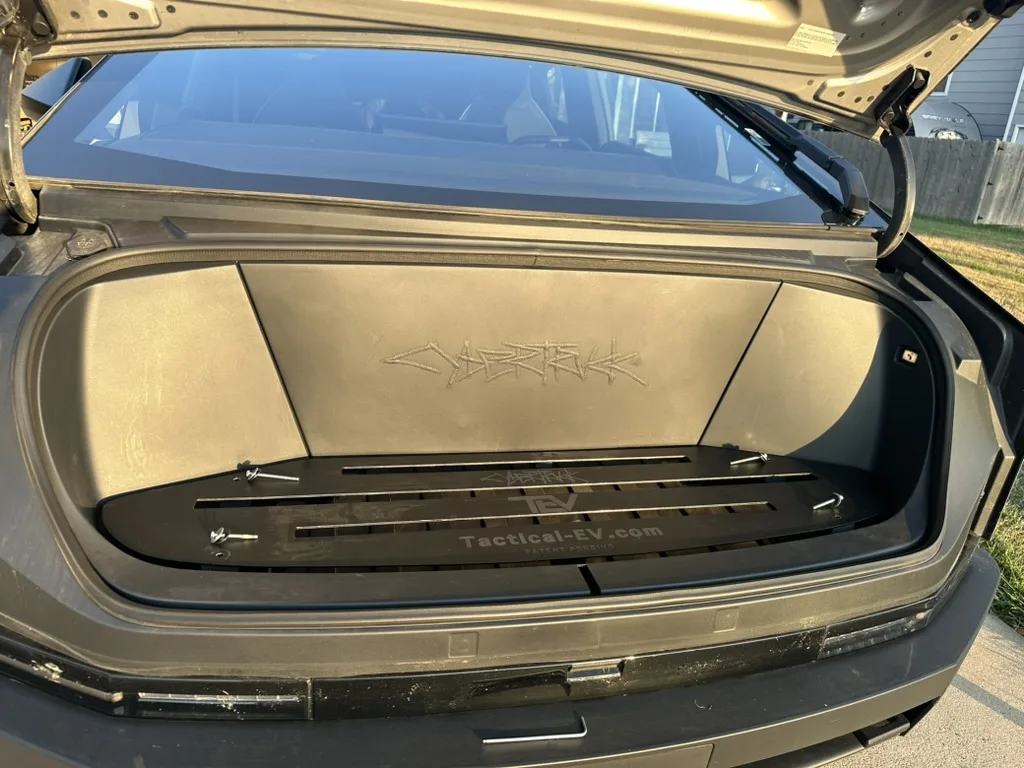
Secure the plate with the included bolts: the shorter 65mm bolts go in the FRONT of the plate, the longer 75mm bolts in the REAR. Bolts should sit flush — snug them ¼ to ½ turn after the head contacts the plate, and do not overtighten.
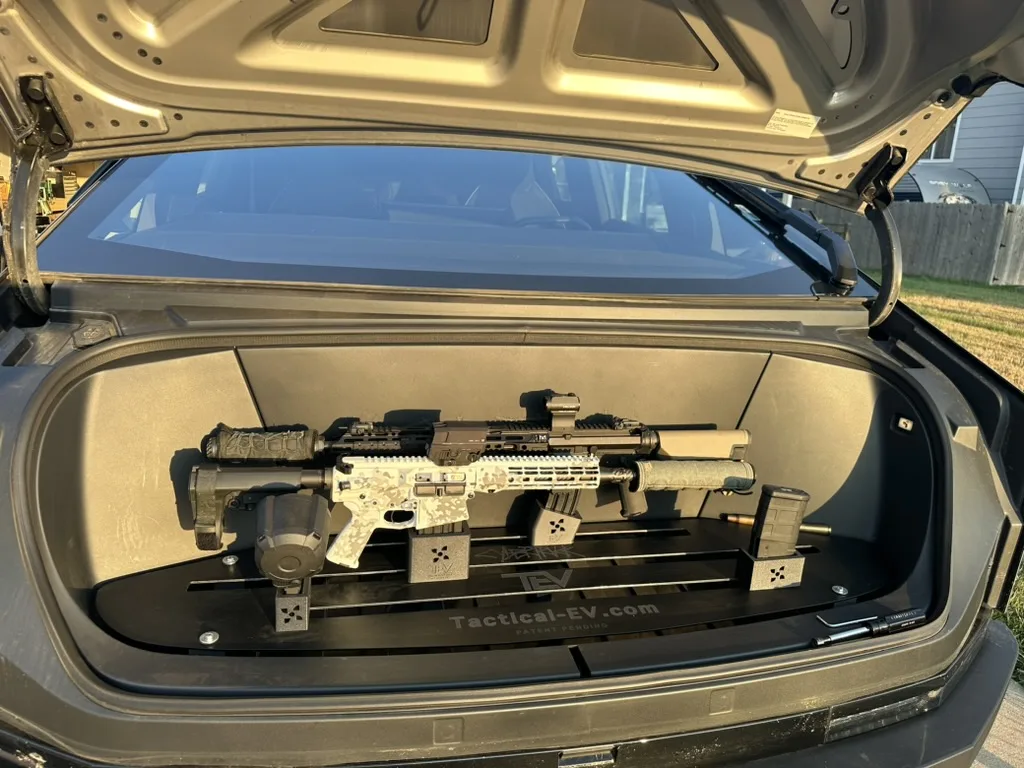
Slide the magnetic spacers under the base plate over the raised slats of the frunk, magnetic side facing up toward the metal plate. They stay put on their own and add mid-span support. Eight are included — use as many as you like, where you like; most installs don’t need all of them.
Attach the aluminum accessory base to the bottom of your mount with the included 5/32″ hex key, turned 90° to the direction the firearm will face — and leave it loose. Insert the base into the track, rotate the mount 90° so it lies perpendicular to the track, slide it to the position you want, and tighten down — same feel as step 5: snug, flush, never forced.
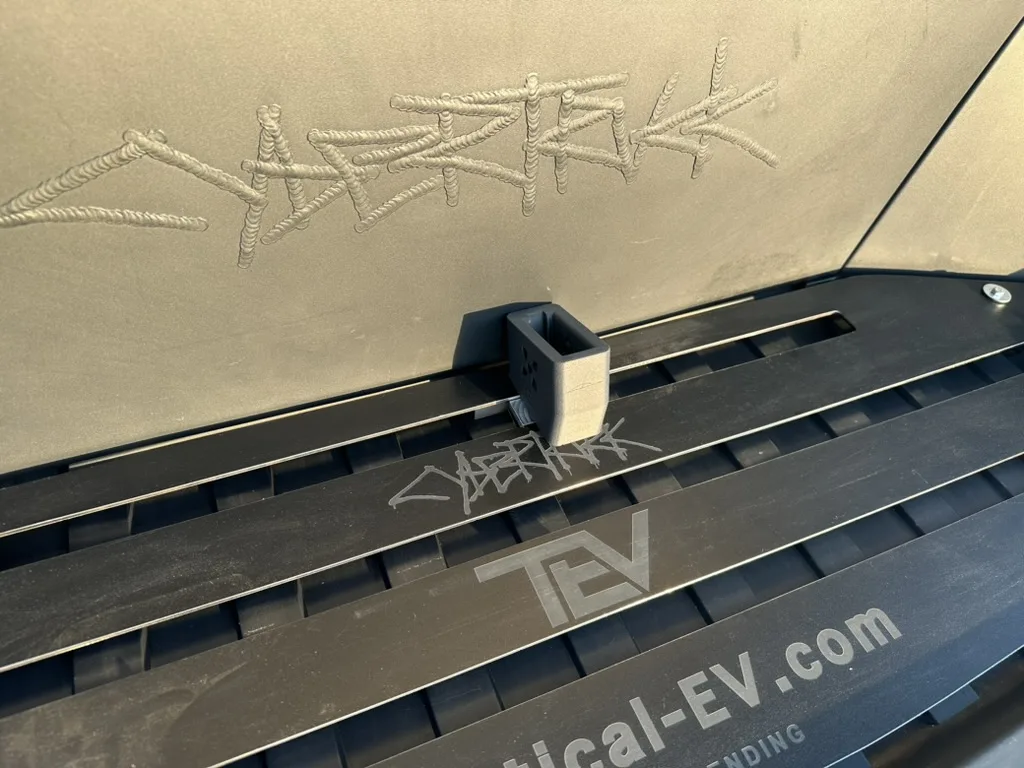
Add your remaining mounts and holsters the same way, positioning each along the track. The rail-indexed V2 base means nothing rotates once it’s tightened — arrange your loadout however suits you.
Seat a metal magazine in your firearm (polymer BX-15 for the Ruger 10/22) and place it into the mount. A small amount of play on the horizontal axes is normal and correct. Firearms will not eject vertically — in our harshest testing, including jumps, we have never dislodged one.
Same track, same standard, everywhere: the mounts you just installed click out of the frunk and onto a wall track in seconds. Check what fits your frunk in the fit guide, or plan your next addition in the Build Your System page.
Questions mid-install? Email [email protected] — you’ll get a human. Installation video coming soon.